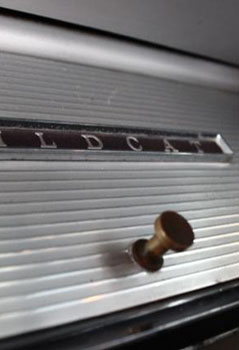
Examples (source eBay)
Repairing glovebox opening, adding glovebox, and adding trunk release on a 1964 Wildcat
For anyone who has owned a full sized LeSabre, Wildcat, or Electra made in 1964 (and those applicable in 1963), the vast majority have something in common: the dash area that supports the glovebox ends up broken in some way, causing difficulty opening the door, usually causing more damage. Read on below, and this was happening when these cars were new back in 1964.
Examples (source eBay)
SEPTEMBER 15, 1964
TO ALL BUICK DEALERS
SUBJECT: Broke Right Center Instrument Panels at Glove Box Hinge Mounting – 1963 and 1964 Upper Series Carts
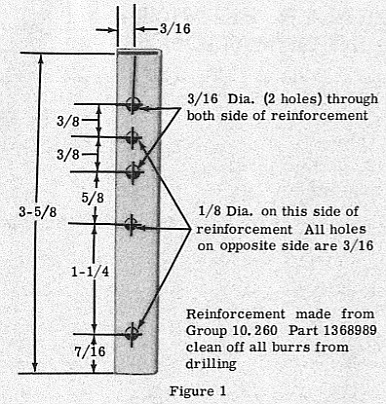
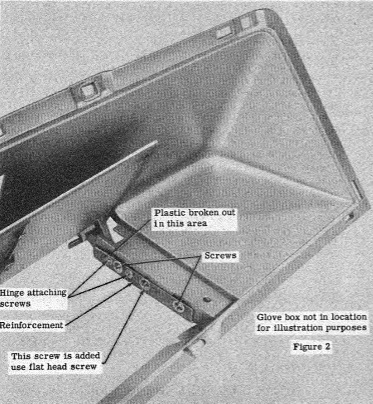
Recently a problem has developed where the glove box hinge area of the right center instrument panel is breaking. In order to eliminate the replacement of complete sections of the instrument panel, a reinforcement should be installed as shown in Figure 2. The reinforcement is made form Group 10.260, Part #1368989, as shown in Figure 1. Following is the procedure for installing this reinforcement:
1. Remove glove box and hinge mounting screws. Discard small hinge plate.
2. Make reinforcement from Group 10.260, Part #136989 – See figure 1.
NOTE: Make certain burrs are removed from reinforcement so that it will slip over edge of instrument panel after drilling is completed. All holes of the reinforcement that are on the glove box side are 3/16 holes. This is done so that the screws will slip through the inside and thread tightly into the other side, thereby sandwiching the broken section of the instrument panel into the channel section of the reinforcement.
3. Install reinforcement using bottom screw to locate the reinforcing mark location of hole for center screw and drill 3/16 hole through plastic.
4 4. Install reinforcement with center screw. Use flat headed screw. See Figure 2.
5. Attach hinge to reinforcement with original screws. See Figure 2.
6. Reinstall glove box.
Flat rate time for this operation is .4 hrs.
This
very issue has occurred on my car. The right side of the hinge mount is
non-existent.
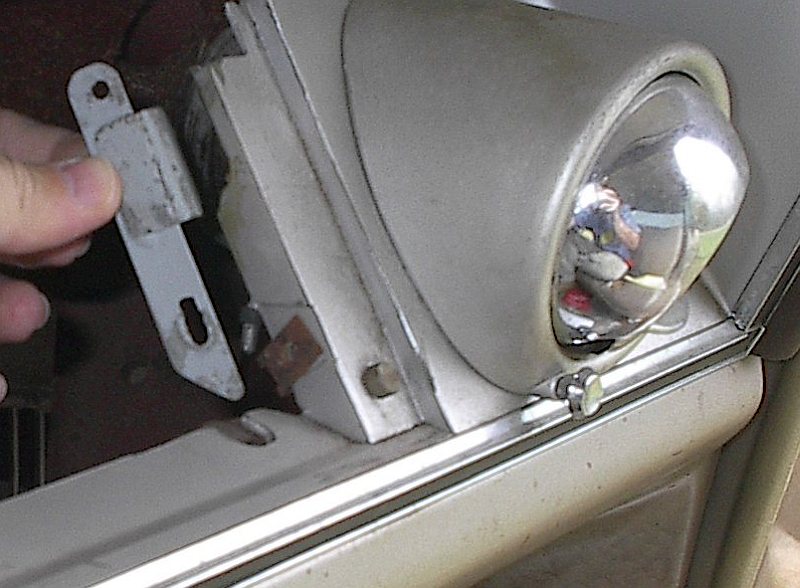
Found this as I fixed up the car. Don't know if
this was the original part, as there is no mention about it in the Buick
sanctioned repair. Probably a fix at some other time.

Left
side was also damaged, but it was in the form of a crack between the light
switch and the upper mount. When the door would put pressure on this area, it
would widen the crack.
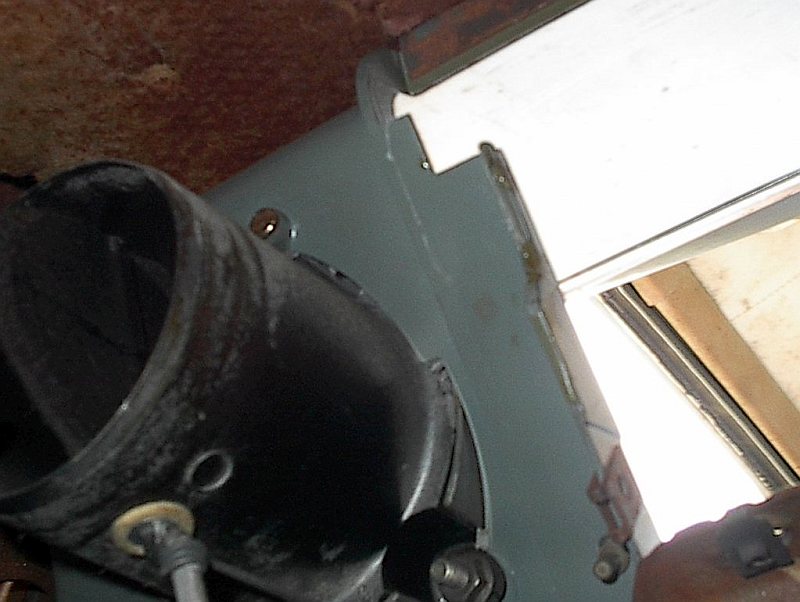
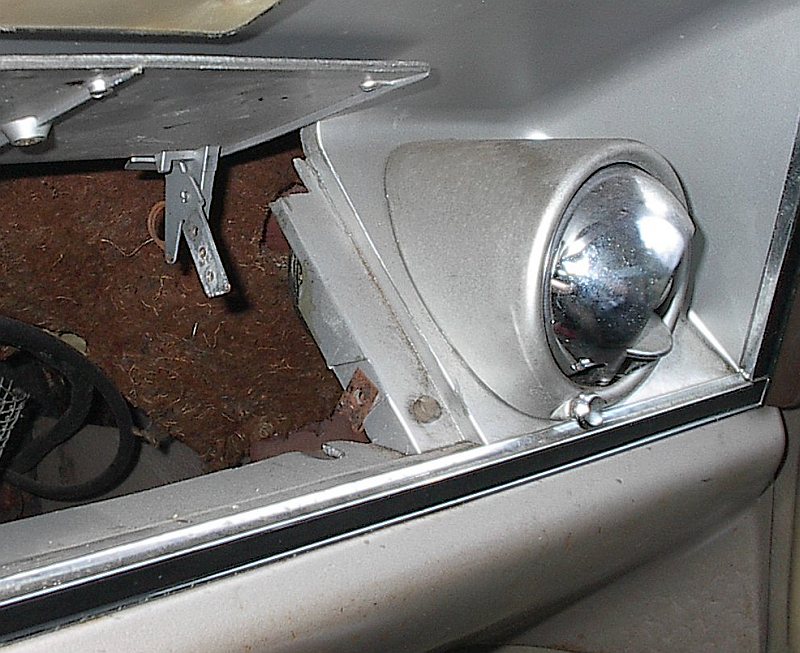
What
the back side looks like. No reinforcement on the plastic that was taking quite
the stress.
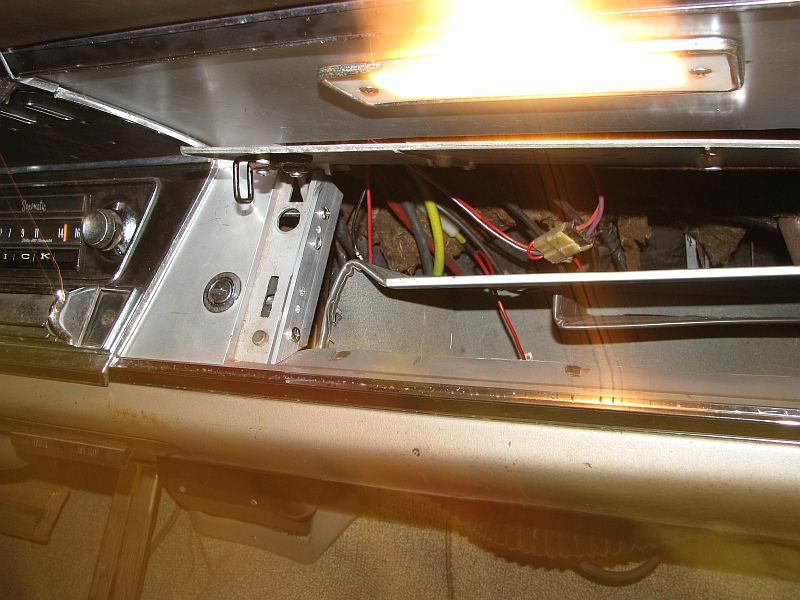
My
solution went right along with the factory recommendation. I added strips of
home-improvement store aluminum stock to each side of the dash, bolted and
nutted to the plastic in two places.
Repair
before the install of the glovebox. I could not add the lightswitch back in. It
would interfere with the correct operation of the glovebox. The glovebox will
now "pop" with pushing in the lock as it was made to, however it doesn't have
enough travel to get a hand under it. I push the lock and then gently push the
center top of the door to open it.
Next it was time to
install the vacuum operated remote trunk release. I got a phenomenal
deal on
this from someone local. I believe the vacuum end that mounts in the
glovebox is technically correct for a 1963,
but it mounted and works fine.
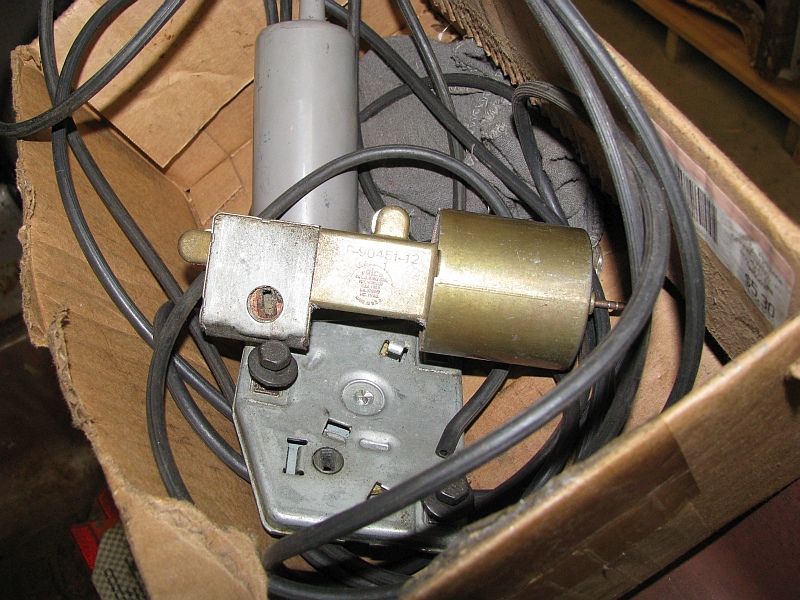
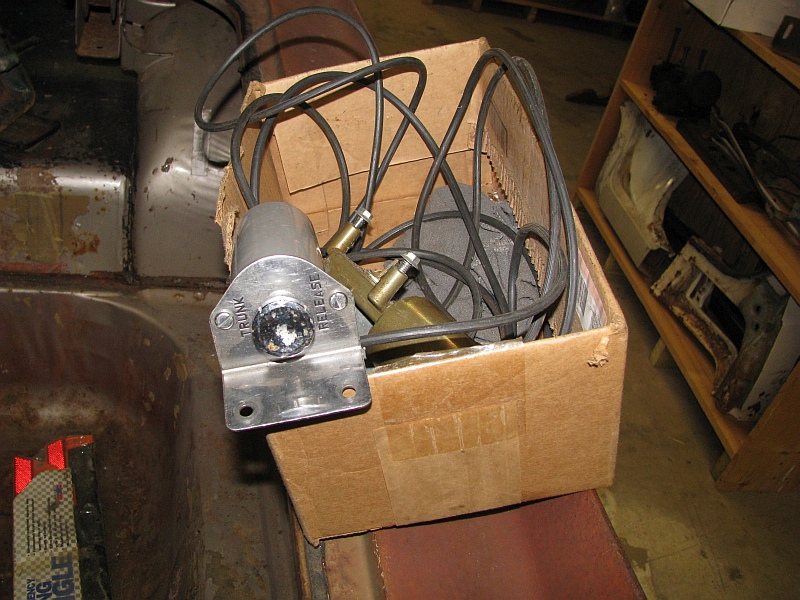
Showing the trunk actuator.
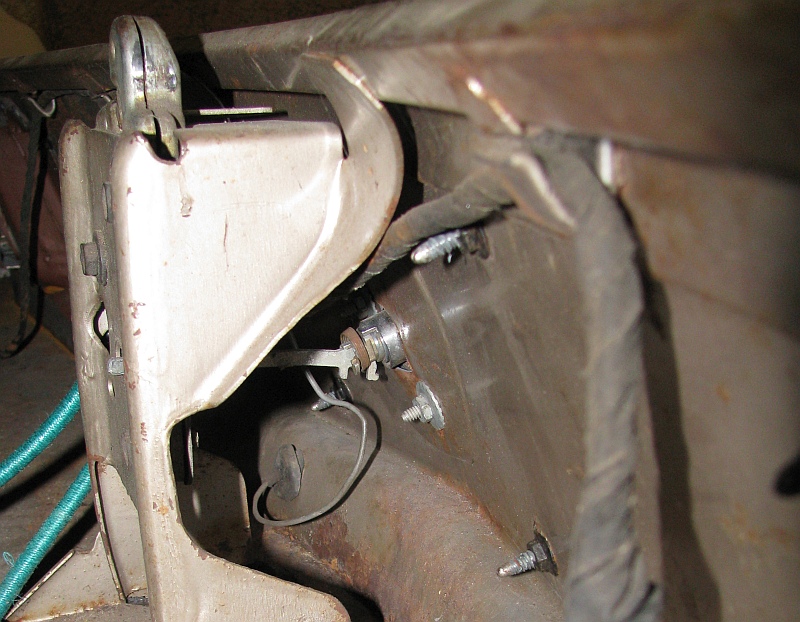
Here is the manual setup. A rod comes from the
lock mechanism that is on the outside and through the trunk latch. Turning the
rod releases the latch.
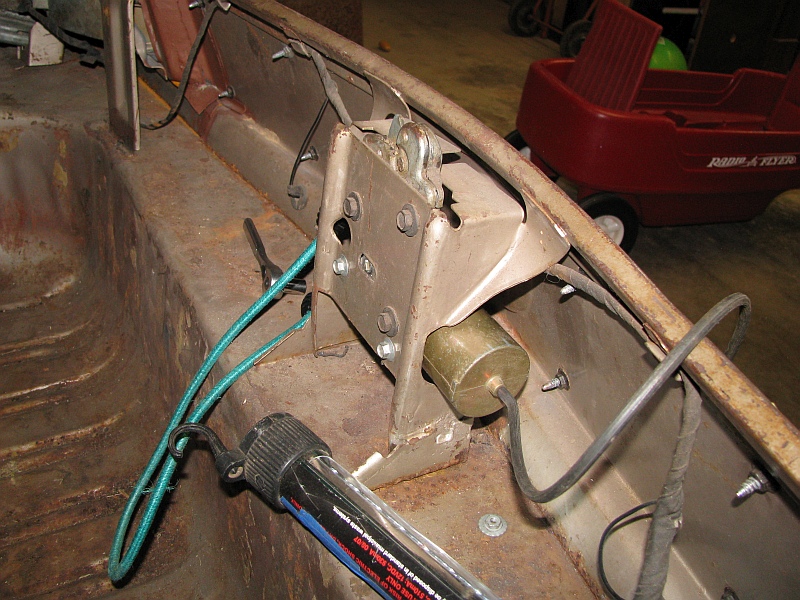
Here is the canister mounted.
The hose will loop around and come down the passenger side of the trunk.
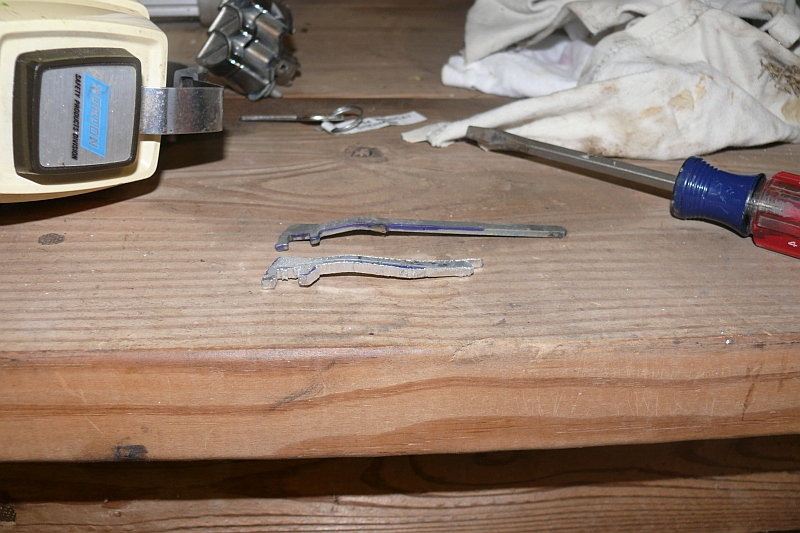
When the opener is installed in
the trunk, it makes the rod from the lock need to be shorter, as that rod hooks
to the vacuum actuator now, and the vacuum actuator then mounts to the latch.
You can buy these on eBay, but I made a shorter one out of the same piece of
aluminum I had for the glovebox repair. Below, the longer one is for the factory
non-actuator mount.
Installed.
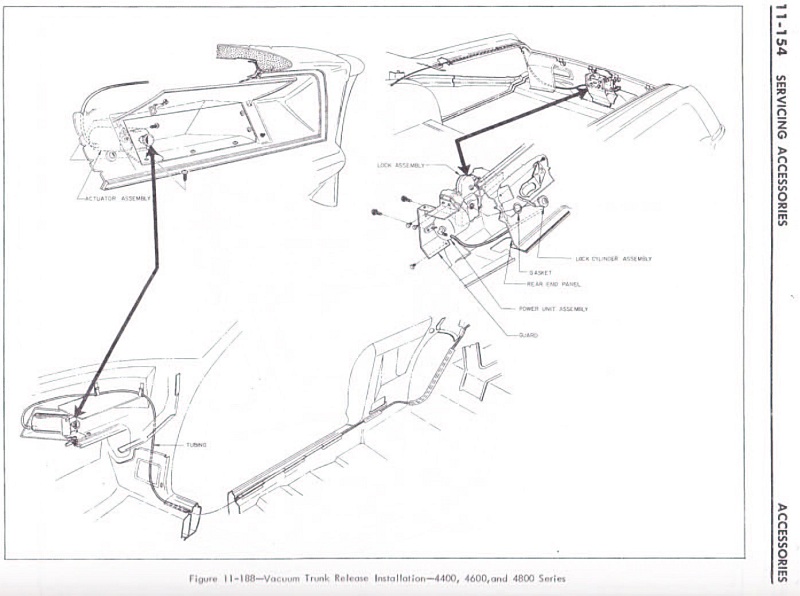
Factory service manual
description of mounting and vacuum hose routing.
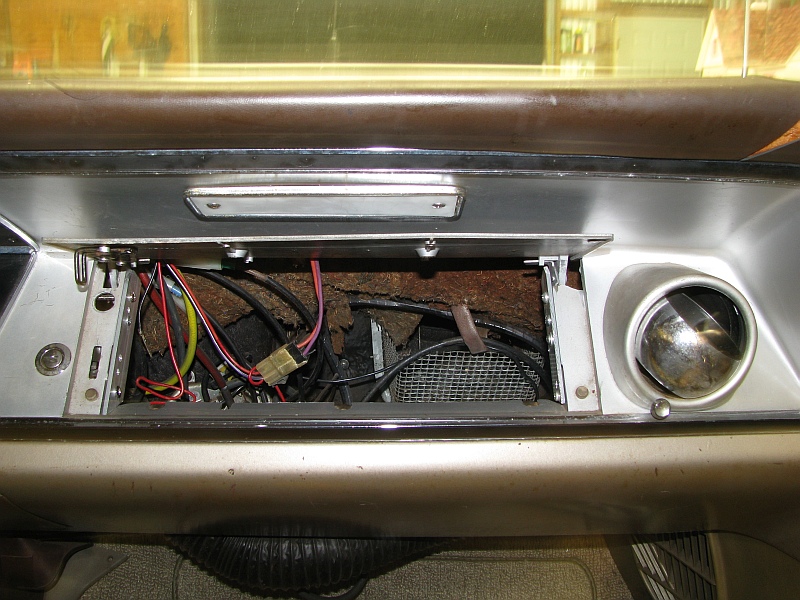
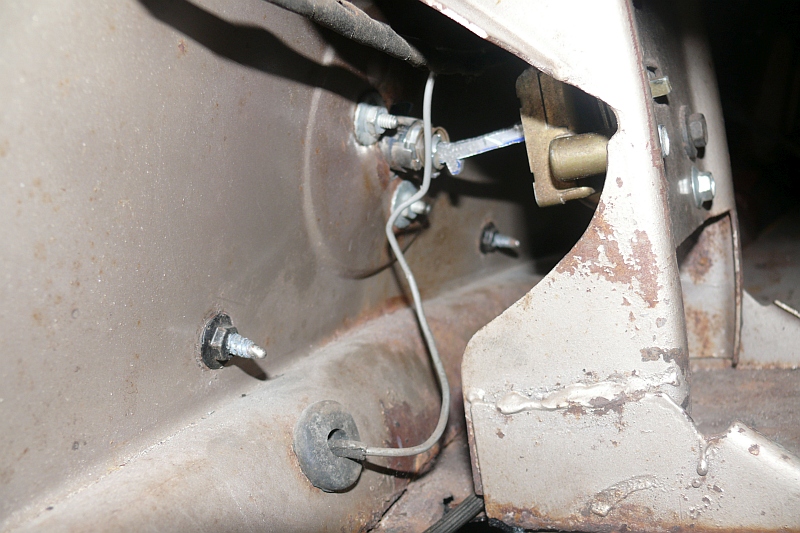
Mounting the trunk release was straight forward
in the car. The screw for the left was existing, while the one on the right had
to have a speed nut added. The glovebox liner was also purchased from another
car. My original was in very poor condition. Do you notice the bar at the top of
the liner that used to hold it up? Turns out the glovebox liner collapsing was
also a common occurrence for 1964. Read below.

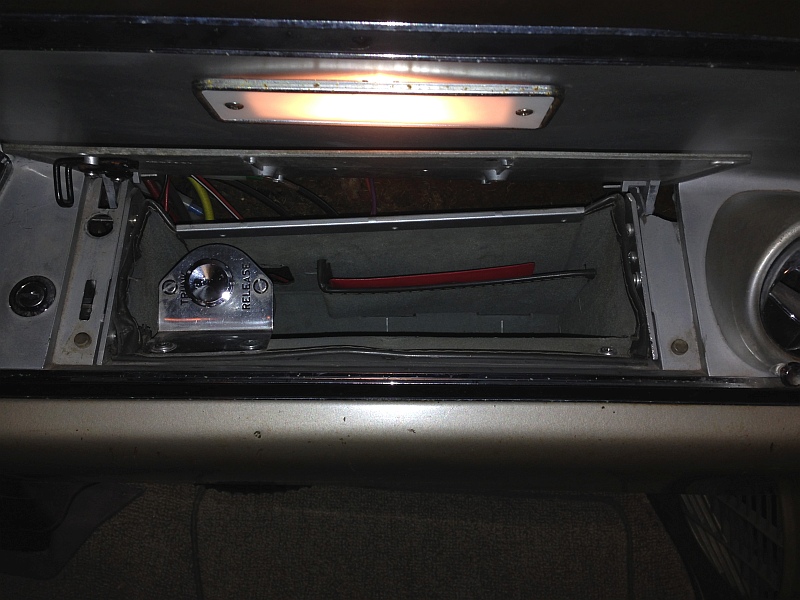
In fall of 2015, I found a phenominal deal on eBay for
the year correct trunk release. Here it is mounted.
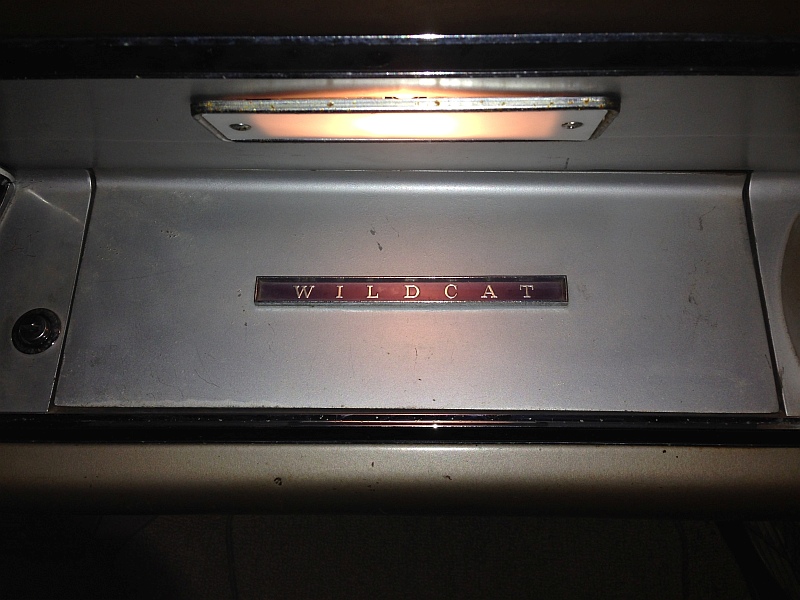
Glovebox repair all buttoned up.

The factory's solution to
a sagging glovebox. Notice they use the same part to fix the sides of the
glovebox opening.
JANUARY 8, 1964
TO ALL BUICK DEALERS
SUBJECT: Malformed Glove Boxes – 1964-44-46-47-4800 Series
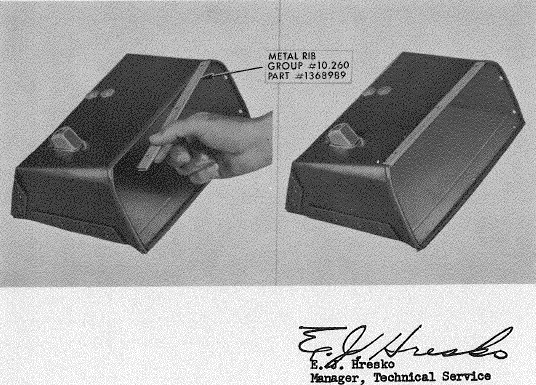
If a condition is encountered where the top of the glove box sags downward, a metal rib reinforcement, Gr. 10.260, Part 1368989, is available. See illustrations. To install reinforcement rib, simply slip into place as shown. Removal of the glove box or supporting screws is not required. No hardware is required to hold the rib to the glove box.
A flat rate time of 0.2 hour is allowable
for the field fix.
![]()