Air
Conditioning
After the 2025 car show season was over, I kicked off the A/C restoration of Sherman the 1964 Buick Wildcat. The A/C never worked since my dad purchased the car in the 70s, and it has been a long term goal to remedy that. Back in the 70s he removed the A/C to save weight as it was inoperative. 20 years ago I moved the A/C components off my parts car named Herman to Sherman but I knew it wasn't the time back then to get it working. Below, before and after the parts swap.
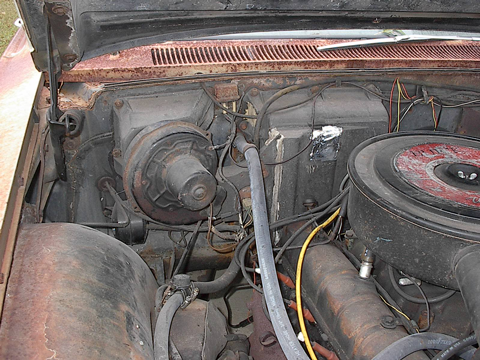
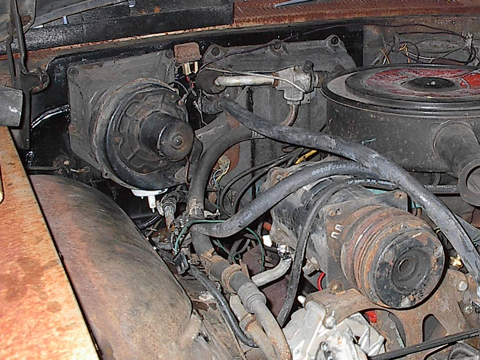
After the 2025 car show season was over, I kicked off the A/C restoration of Sherman the 1964 Buick Wildcat. The A/C never worked since my dad purchased the car in the 70s, and it has been a long term goal to remedy that. Back in the 70s he removed the A/C to save weight as it was inoperative. 20 years ago I moved the A/C components off my parts car named Herman to Sherman but I knew it wasn't the time back then to get it working. Below, before and after the parts swap.
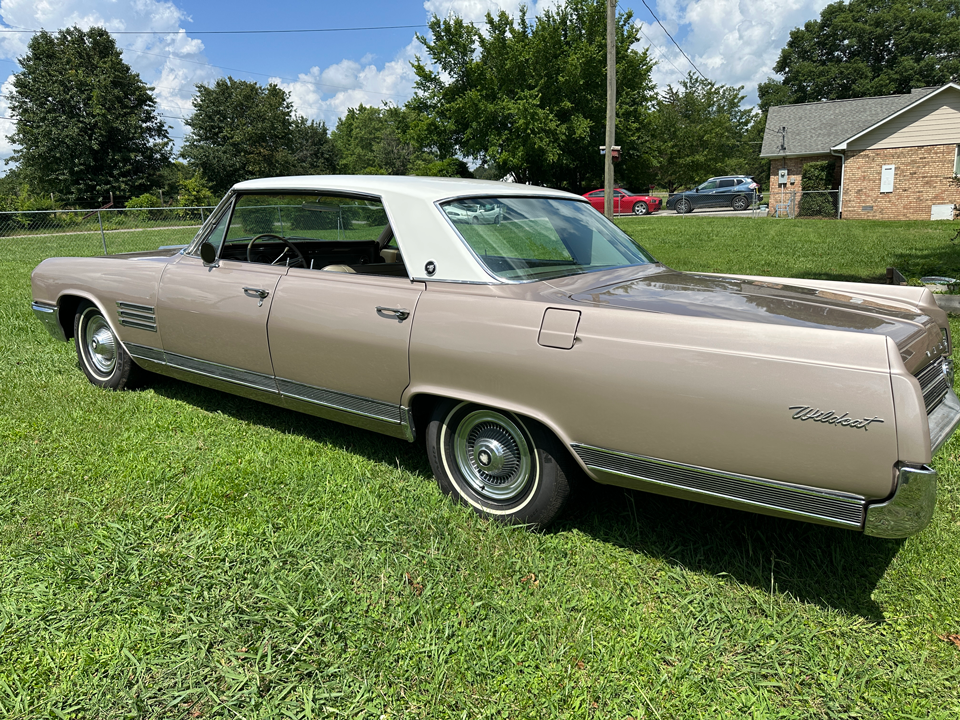
Fast forward to
2025 and the car
is almost fully
restored including
body, paint, and
interior. Time
for the next
project.
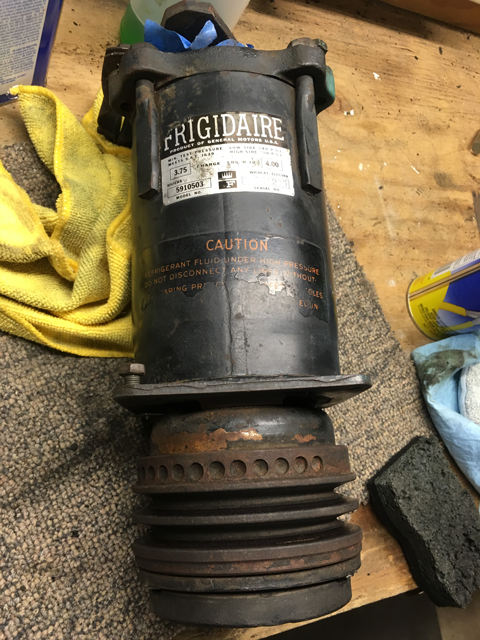
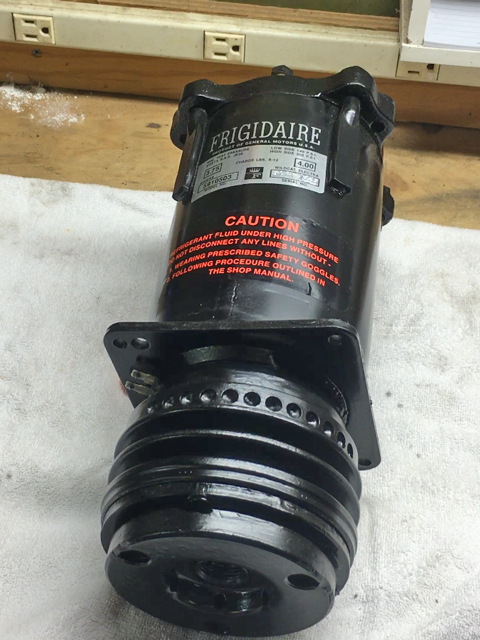
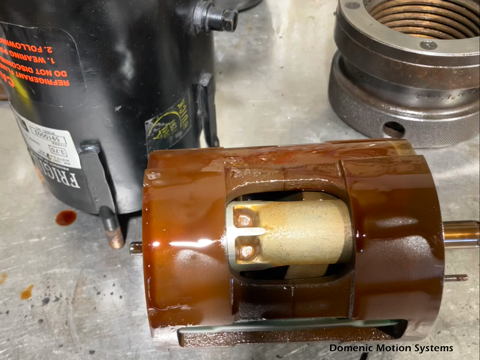
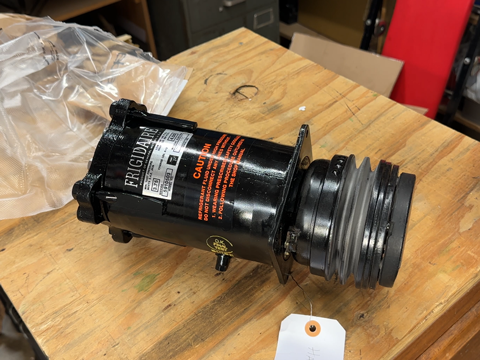
The compressor
was rebuilt by a
gentleman famous
for rebuilding
Corvette A6
compressors.
Below is all the
rust he found in
the compressor
upon
disassembly, and
then the after
picture. The
compressor looks
100% correct.
The
receiver dryer
was the next to
be removed
because there
was a long lead
time for
restoration. I
had purchased a
universal
replacement at
one time, but I
didn't like how
incorrect it
looked. There
are no dryers
sold that look
correct to this
style. Old Air
Products in Fort
Worth was able
to put new
desiccant and
rehab my dryer
to new,
including a new
sight glass.
Below, the
original and
universal, and
the restored
original.
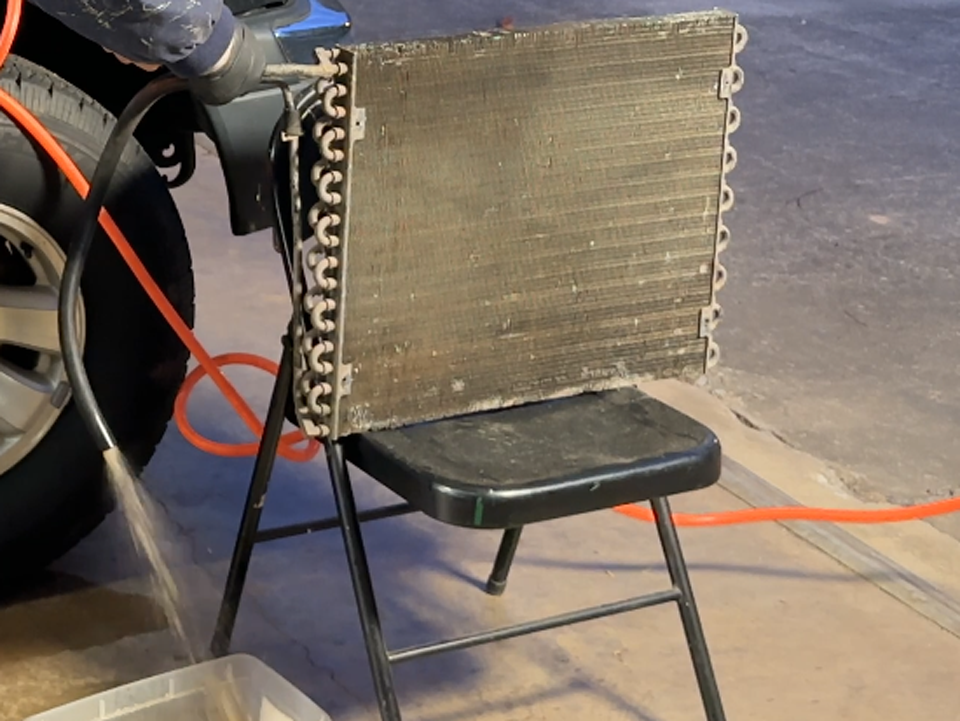
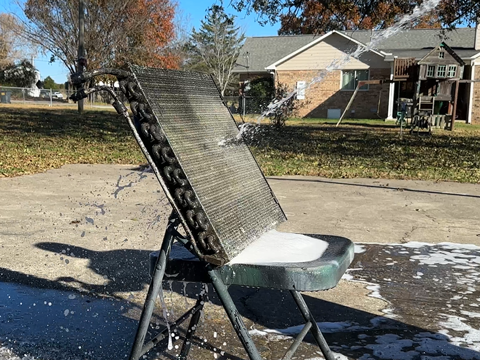
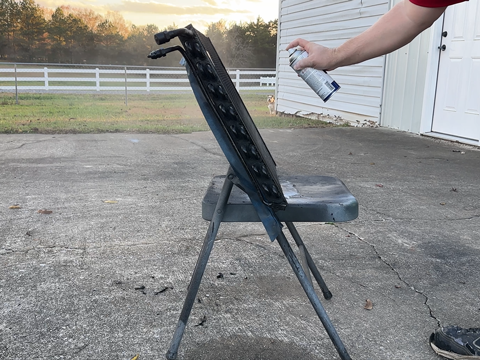
The next step of the restoration was the removal and rehabilitation of the condenser. Many hours were spent straightening the aluminum fins. It was flushed four times with Four Seasons Super Flush solvent, shown below. The first flushes contained rust and rusty particles. It was flushed until clear. The side caps were removed, and the whole unit was cleaned and painted with Eastwood Radiator Paint for the proper look and to maintain proper airflow vs. regular thicker paint.
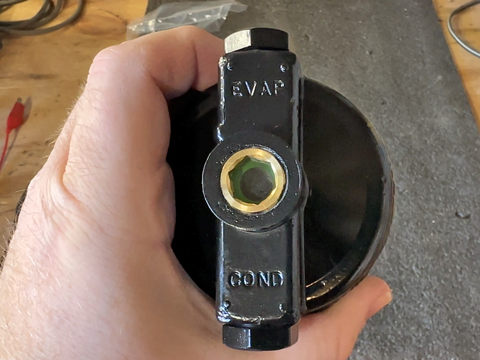
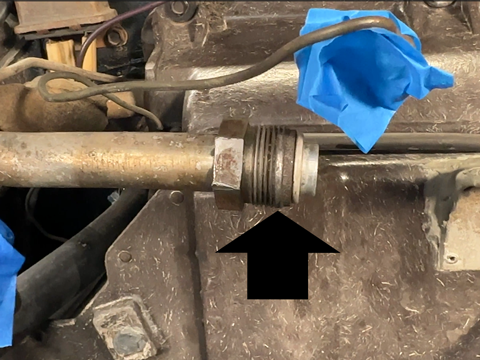
Removal and
restoration of
the STV was
next. I would
not have removed
the STV had I
not found rust
in the
condenser. I
knew the STV had
to come off for
a proper
evaporator
flush. I had
tried to remove
the STV 20 years
ago when I put a
new seal in it,
and couldn't get
it to budge.
Fast forward 20
years, and I had
tools with
exceptional
leverage. Below
was the setup I
used.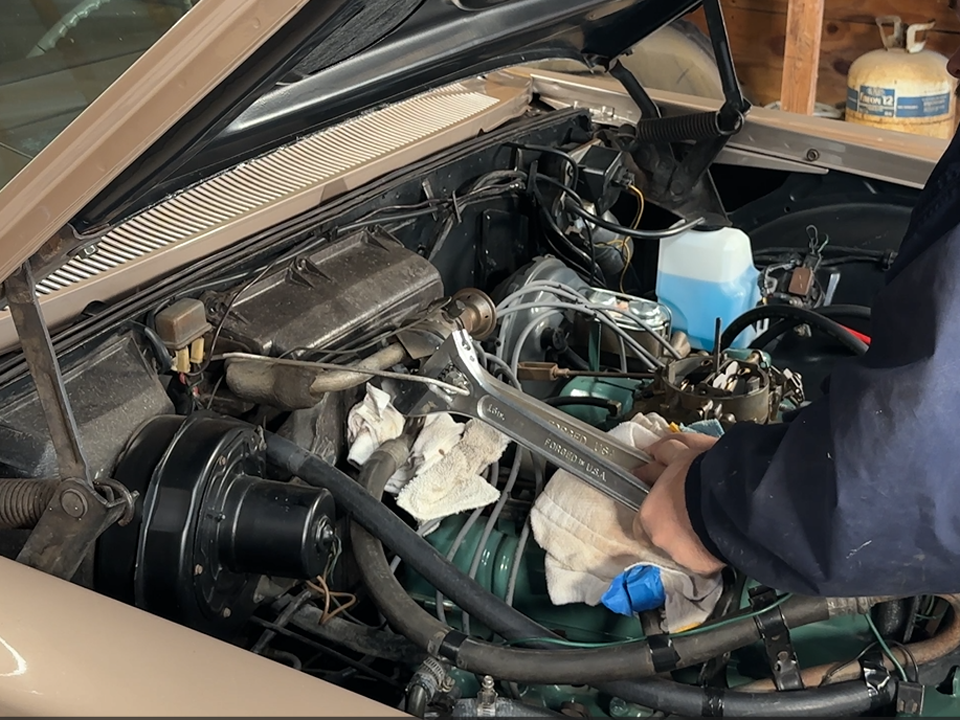
As I removed the
STV to
evaporator
fitting, it took
some effort to
give, and as I
continued
unscrewing it,
there was
abnormal
resistance. Once
I got the
fitting out, it
was evident what
had happened.
Either 61 years
ago it was
installed
cross-threaded,
or more than
likely galvanic
corrosion made
the steel fitting and
aluminum threads
to become
one. The very
first threads on
the male side
were
semi-obliterated,
shown below at
left, and this
caused the
flattening of
all threads on
the STV as it
was removed.
Note on the
right picture
the bottom
threads as they
should be, and
the top threads
that are
flattened beyond
repair.
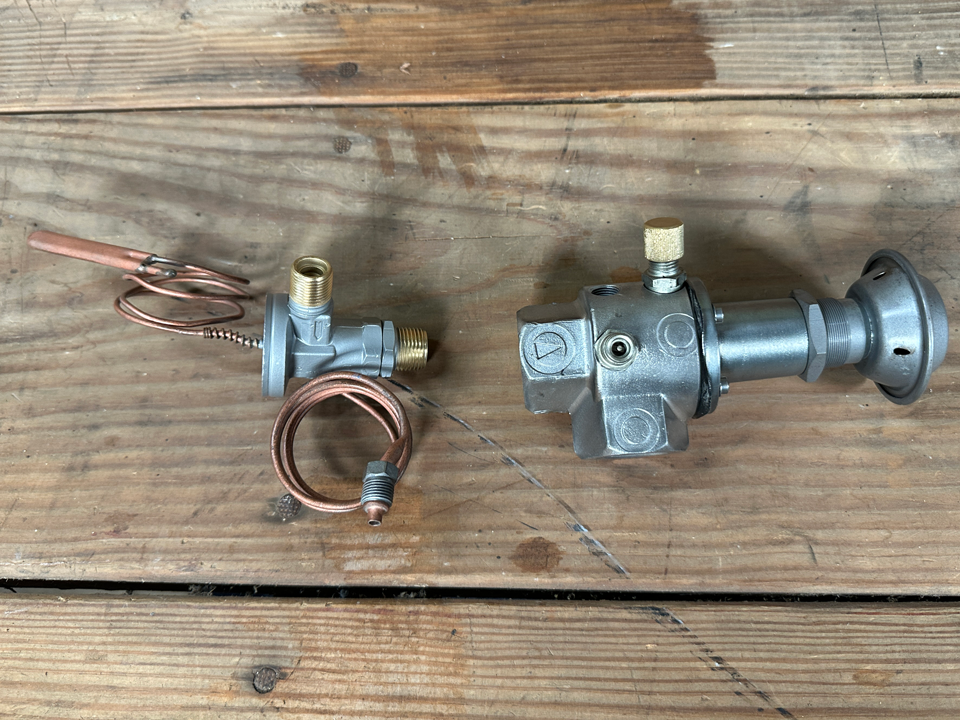
The plan was to send off the STV to The Part Guy LLC to get a new seal in it and to refurbish the original expansion valve at the same time. I tried the forums first, but no one had an STV off a big car. Riviera STVs work backwards. There were none on eBay. With the threads trashed on the STV, I could even run one of the STV eliminator kits. I reached out to James at Best Offer Counts, and he had one just coming into stock off a parts car. Below, that STV and the expansion valve were sent to The Part Guy LLC for rebuilding.
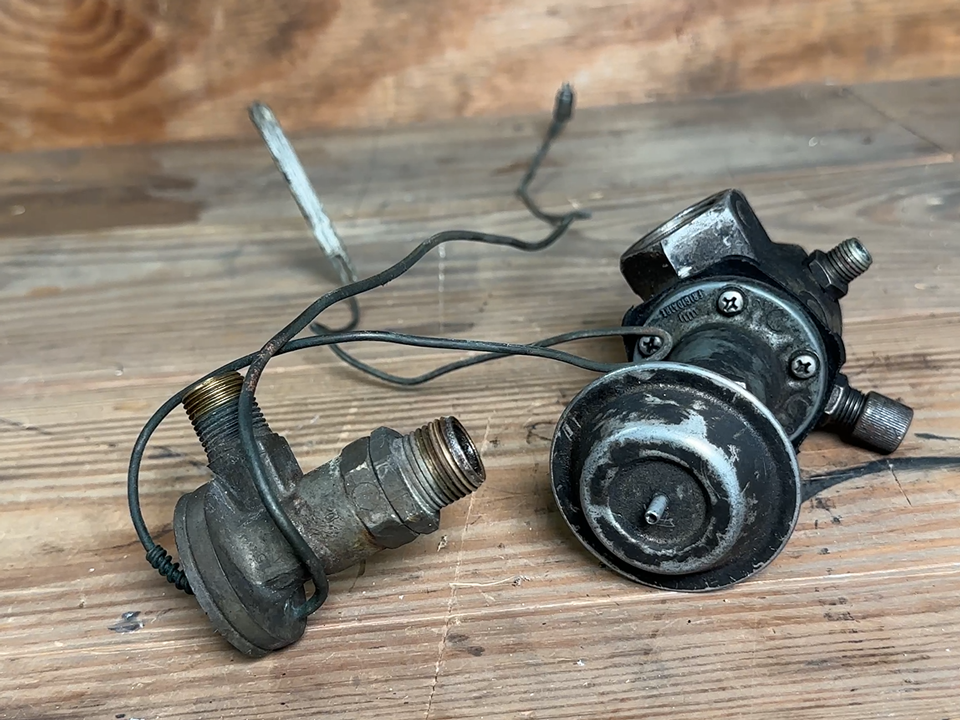
Below are the
parts as
returned from
the Part Guy.
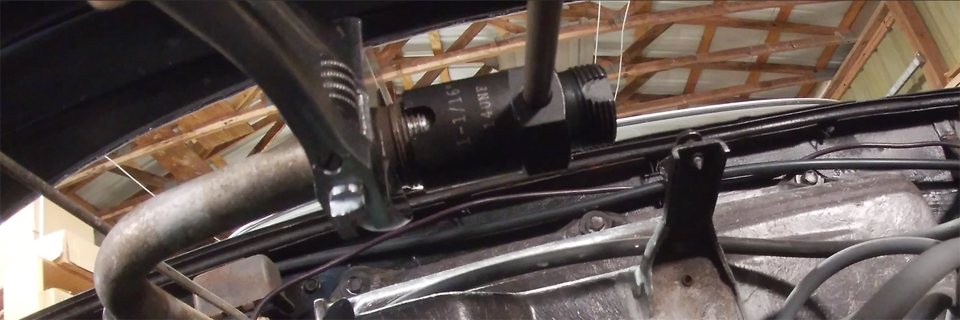
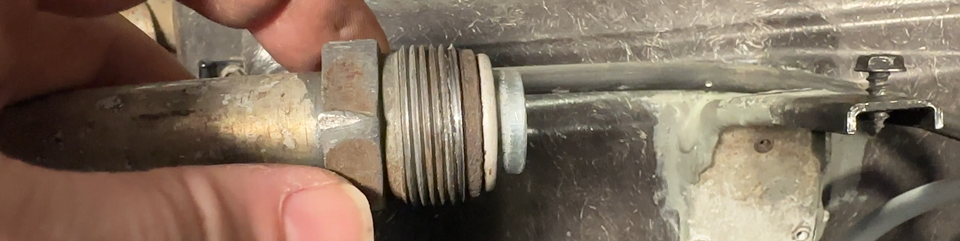
The next step
was to see if I
could repair the
threads on the
evaporator male
brass fitting to
save buying a
$350 replacement
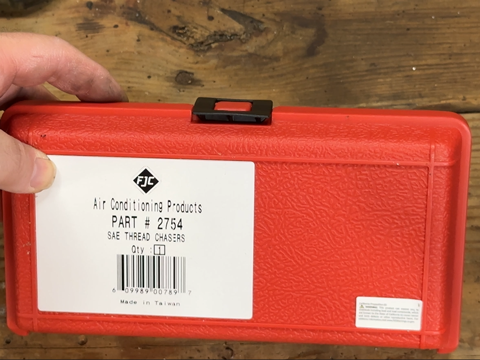
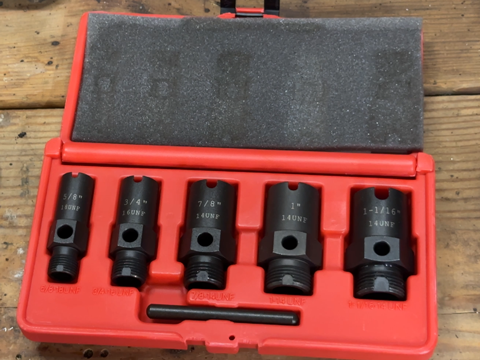
in 2025 dollars.
I found an $86
thread chaser
kit came into
existence from
FJC, called
their Standard
Thread Chaser
Set 2754. Using
the 1 1/16
thread chaser, I
was able to
restore the
fitting, below.
Once the fitting was fixed, the evaporator got the same flushing routine as the condenser, with the addition of making sure the oil bleed line was flushed as well.
Once the fitting was fixed, the evaporator got the same flushing routine as the condenser, with the addition of making sure the oil bleed line was flushed as well.
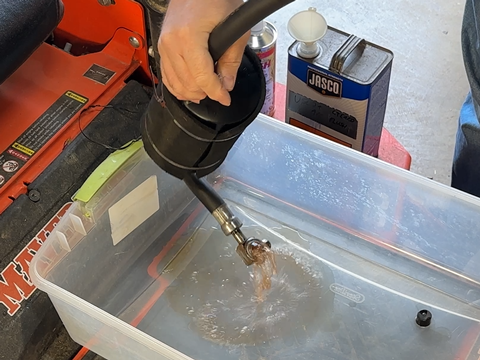
I tried to flush
the muffler
multiple times
thinking I could
solve the issue
with money by
using a ton of
Super Flush. I
had to come to
the realization
that because the
inside of the
muffler was
uncoated steel,
the muffler
would just rust
again after a
flush. Fun fact,
the only other
non-aluminum
parts in the A/C
system are the
cast iron block
and heads of the
A/6 compressor,
and the steel
tube in the A/C
hose to the
compressor.
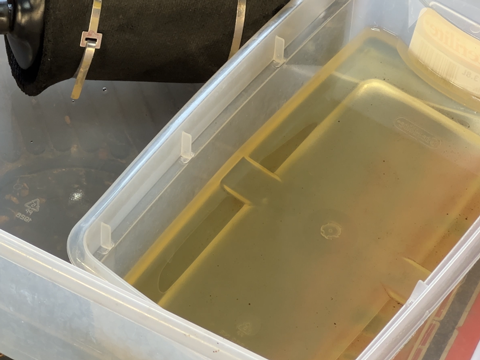
I think in 64
when A/C
mufflers were
first installed,
the Freon/oil
kept them clean,
but once any
moisture got in
the system it
was flash rust
city in the
muffler. Below,
left, one of
many attempts to
flush. Below
right, even
after four
flushes, I still
got small black
dots of rust
out, shown
toward the
bottom of the
container.
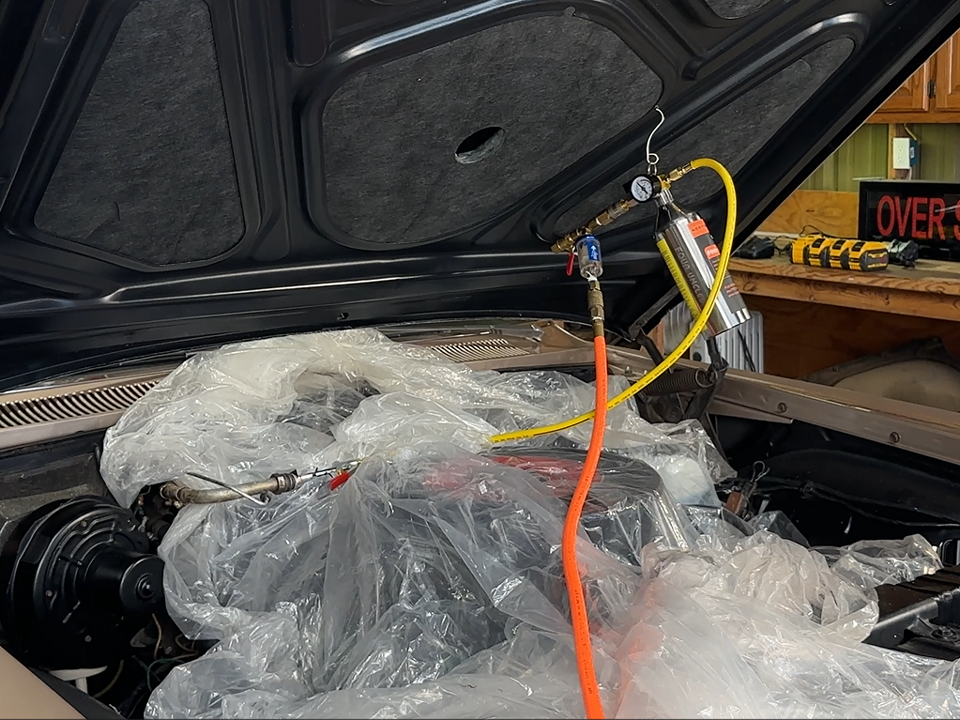
As of this writing, all the A/C lines have been removed and shipped to Old Air Products for rebuilding, including the line with the muffler. There is no supplier for Buick rebuild or newly manufactured A/C mufflers. It is not necessary to put an A/C muffler back into the system, but I'd like it to look as original as possible. I believe Old Air Products may have an Oldsmobile muffler that will likely look the part. Below, all the hose parts before being shipped out to them.
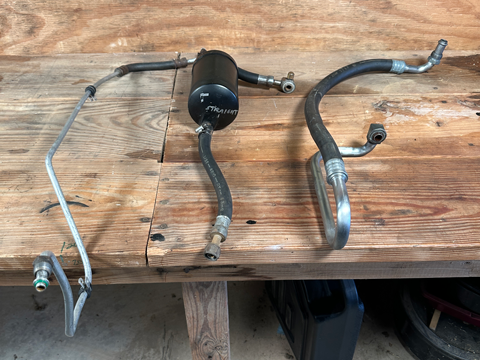
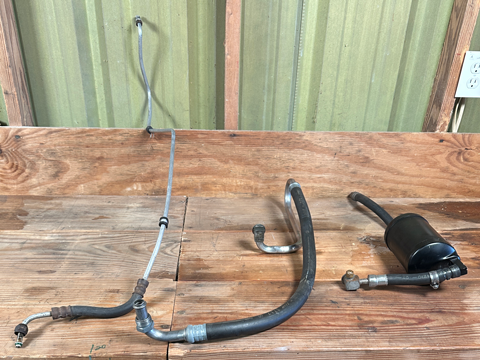

As of this writing, all the A/C lines have been removed and shipped to Old Air Products for rebuilding, including the line with the muffler. There is no supplier for Buick rebuild or newly manufactured A/C mufflers. It is not necessary to put an A/C muffler back into the system, but I'd like it to look as original as possible. I believe Old Air Products may have an Oldsmobile muffler that will likely look the part. Below, all the hose parts before being shipped out to them.